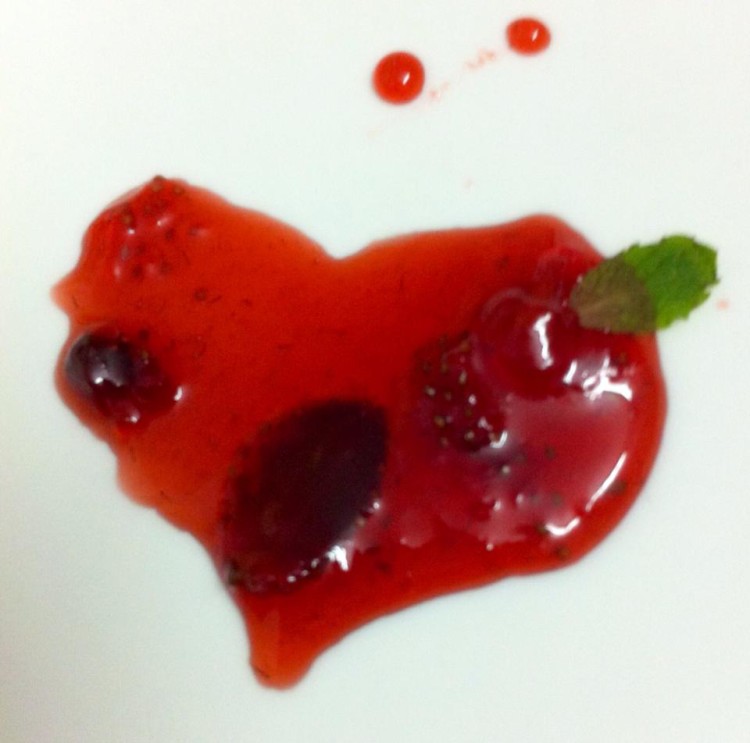
Strawberry Jam
Strawberries are often whimsically referred to as the fruit of love and passion. The one obvious reason is the strawberry’s heart-shaped form, its sweetness and its vivid red color. There are several traditions where strawberries are integral.
Here’s my post to this years Valentine’s Day: Strawberry Jam. I love making this, it is simple, delicious and worth the time. Because at the end of the day, you get to enjoy a real treat for breakfast.
Adapted from the BBC Good Food.
Ingredients
1/2 kg strawberries
1/2 kg granulated sugar or caster sugar
1/4 lemon, juice only
1/2 tsp unsalted butter
Choosing the berries:
Check for soft spots (which must be removed) and discard any berries with bruises or that are overripe. The berries must be firm.
Preparation method
- The day before you wish to make the jam, hull and halve the strawberries.
- Place the strawberries into a large bowl with 225 gm of the sugar. Turn carefully to mix and coat well, then cover with cling film and place into the fridge overnight.
- The next day, place a saucer into the freezer to chill – you’ll need this when you come to test the setting point of the jam.
- Sterilise the jam jars – first wash the jars in soapy water and rinse in clean warm water. Allow them to drip-dry, upside down, on a rack in the oven set to 140C/275F/Gas 1. Leave them there for at least half an hour while you make the jam.
Making the jam
- Pour the strawberries, their juice and any residual sugary juices into a very large pan or preserving pan, remembering that the mixture will rise as it boils, and add the remaining 250 gms sugar and the lemon juice.
- Stir over a gentle heat until the sugar has completely dissolved.
- Bring the strawberries up to the boil then boil hard until the jam reaches setting point. Check the setting point every ten minutes, although it may take up to half an hour to reach setting point.
- To test the setting point, remove the pan from the heat. Take your saucer from the freezer and place a drop of jam onto the cold plate. After a few seconds push the jam with your finger.
- If the jam surface wrinkles then it has reached setting point and is ready. If it slides about as a liquid, then it hasn’t reached setting point and should be returned to the heat and boiled for a few more minutes before testing again.
- When setting point has been reached, turn off the heat. Stir in the butter and skim off any scum on the surface of the jam with a large spoon.
- Let the jam cool and thicken in the pan for ten minutes, so that the strawberries don’t all sink to the bottom in the jam jars.
- Carefully remove the sterilised jars from the oven with oven gloves – try to avoid touching the insides of the jars with the oven gloves, which might introduce unwelcome bacteria.
- Stir the jam, then ladle it into the sterilised jars.
- Cover the top surface of the jam in each jar with waxed paper that have been cut to size – they should cover the entire surface of the jam.
- Cover with a lid while still hot, label and store in a cool place.
Recent Comments